Let me tell you, there’s something magical about meal prep that goes beyond just saving time in the kitchen. It’s like creating a little piece of art that you can enjoy all week long! I absolutely love the meal prep aesthetic – those beautifully arranged containers filled with vibrant colors and fresh ingredients are a feast for the eyes and the taste buds. Every time I open my fridge, I feel like I’m unveiling a treasure trove of healthy delights, ready to nourish me throughout the busy week. Plus, it makes healthy eating so much easier! With just some mixed veggies, quinoa, and chickpeas, I can whip up delicious meals that look as good as they taste. Trust me, once you get the hang of it, you’ll wonder how you ever lived without this little culinary ritual! So, let’s dive into how to make your own stunning meal prep containers!
Ingredients List
Here’s what you’ll need to create your stunning meal prep containers:
- 5 cups of mixed vegetables, chopped (I love using bell peppers, zucchini, and broccoli for a pop of color!)
- 2 cups of quinoa, rinsed (Make sure to rinse it well to remove the bitterness!)
- 1 cup of chickpeas, drained and rinsed (Canned works perfectly here—so convenient!)
- 1/2 cup of olive oil (Extra virgin for that rich flavor!)
- Salt and pepper to taste (Don’t be shy—season to your preference!)
These ingredients are not just tasty but also provide a fantastic base for your meal prep aesthetic. Feel free to mix and match your veggies or even add some herbs for a personal touch!
How to Prepare Instructions
Getting your meal prep aesthetic just right is all about following these simple steps. Let’s break it down together so you can create a colorful and nutritious feast for the week!
Cooking the Quinoa
First up, let’s tackle that quinoa! You’ll want to rinse the 2 cups of quinoa under cold water in a fine-mesh sieve. This helps get rid of any bitterness. Now, in a medium saucepan, combine the rinsed quinoa with 4 cups of water. Bring it to a boil over medium-high heat. Once boiling, lower the heat to a simmer, cover it, and let it cook for about 15 minutes. You’ll know it’s done when all the water has been absorbed and the quinoa looks fluffy. Give it a little fluff with a fork and set it aside to cool while we work on the veggies!
Roasting the Vegetables
Next, let’s roast those vibrant mixed vegetables! Preheat your oven to 400°F (about 200°C). Grab a large baking sheet and spread your 5 cups of chopped mixed vegetables evenly. Drizzle with 1/2 cup of olive oil, then sprinkle with salt and pepper to taste. Toss everything together until the veggies are well-coated. Roast them in the oven for around 20 minutes, stirring halfway through to ensure they cook evenly. You’re looking for a nice golden-brown color and a bit of caramelization—trust me, that’s where the flavor is!
Assembling the Meal Prep Containers
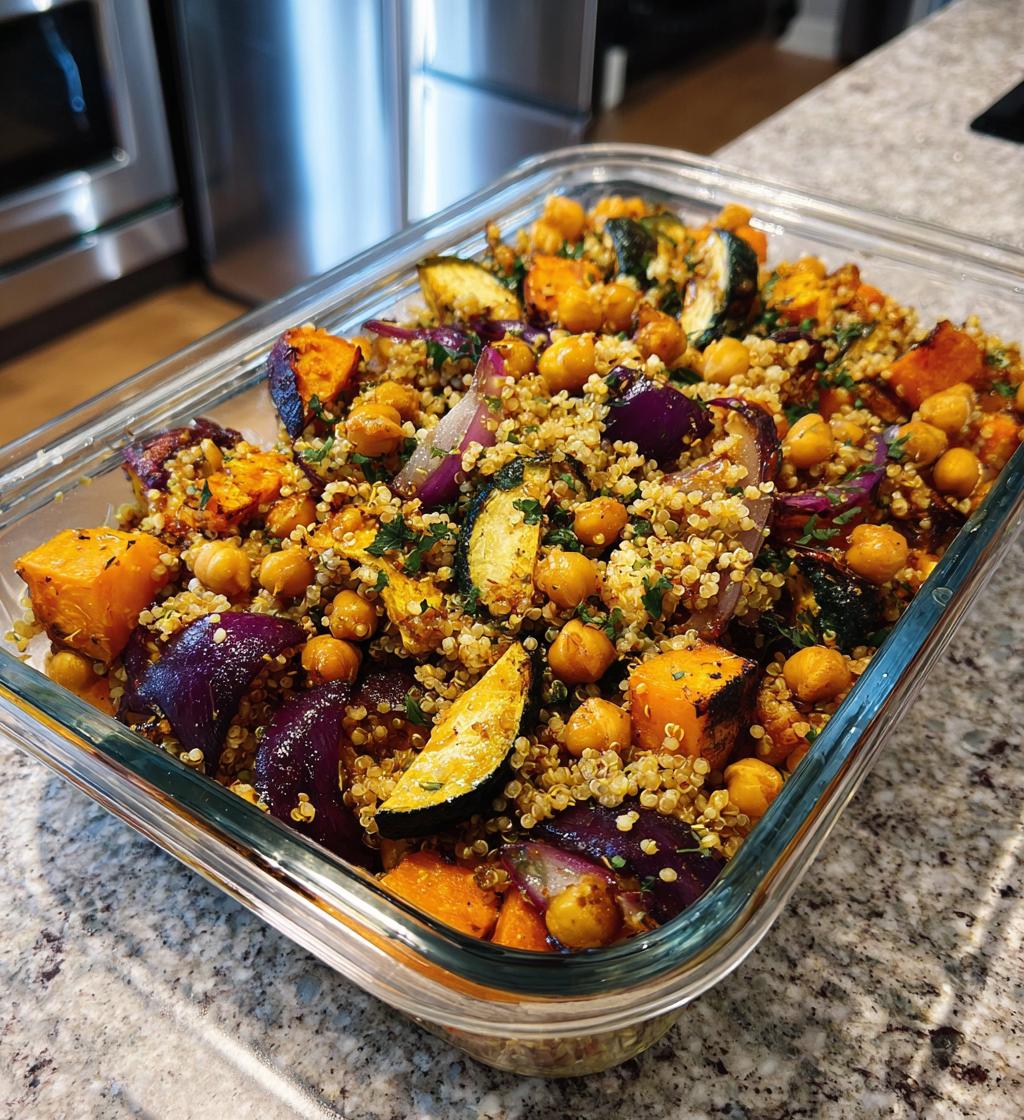
Now comes the fun part: assembling your meal prep containers! Start by layering the bottom of each container with a generous scoop of quinoa. Then, add a colorful mix of your roasted vegetables on top. Finally, sprinkle a handful of chickpeas over everything for that protein boost. Try to arrange the ingredients in a way that showcases those beautiful colors—think of it as a little culinary art project! Seal those containers and store them in the fridge. They’ll stay fresh and ready to go for up to 5 days. You’ll love opening your fridge to such a delightful sight every day!
Why You’ll Love This Recipe
- Quick and Easy: Meal prepping saves you time during the week. With everything ready to go, you can grab a container and eat in minutes!
- Visually Appealing: There’s something so satisfying about opening a fridge full of colorful, neatly packed containers. Each meal is like a little gift waiting for you!
- Healthy Choices: You control the ingredients, ensuring that you’re fueling your body with fresh, wholesome foods. No more last-minute takeout temptations!
- Customizable: You can mix and match veggies, grains, and proteins to suit your taste. This recipe is just a starting point—let your creativity shine!
- Great for Meal Planning: With everything organized, you can easily stick to your dietary goals and avoid unhealthy snacking throughout the week.
Nutritional Information Section
Let’s talk numbers! Here’s the estimated nutritional breakdown for one serving of your gorgeous meal prep container:
- Calories: 350
- Fat: 15g
- Saturated Fat: 2g
- Unsaturated Fat: 10g
- Trans Fat: 0g
- Cholesterol: 0mg
- Carbohydrates: 45g
- Fiber: 10g
- Protein: 10g
- Sugar: 5g
- Sodium: 200mg
These values are estimates and can vary based on the specific ingredients you use and your portion sizes, but it’s a great starting point! The best part? You’re not just nourishing your body; you’re also enjoying a colorful and satisfying meal that looks as good as it tastes!
Tips for Success
Creating that perfect meal prep aesthetic is all about the details! Here are my top tips to elevate your containers from good to absolutely stunning:
- Choose Colorful Ingredients: Don’t shy away from a rainbow of veggies! The more colors on your plate, the more nutrients you’re packing in. Think bright bell peppers, deep green broccoli, and vibrant cherry tomatoes. It’s like a painting—let those colors shine!
- Use Clear Containers: I swear by clear glass or BPA-free plastic containers. They let you see the beautiful layers of your meal without even having to open them. Plus, they’re great for portion control!
- Layer for Aesthetic Appeal: Arrange your quinoa, veggies, and chickpeas in a way that showcases their colors. Alternate layers for a visually appealing effect—this makes your meals feel like a treat each time you grab one!
- Invest in Fun Accessories: Little touches like colorful utensils or decorative labels can make a big difference. I love using washi tape to label my containers with the date and contents. It adds a personal touch!
- Mind the Portions: Keep an eye on portion sizes to avoid overcrowding your containers. Each meal should be balanced and satisfying without being overstuffed. This also helps make it easier to grab and go!
- Don’t Forget Toppings: Add a sprinkle of nuts, seeds, or fresh herbs just before serving. They not only enhance the flavor but also add that extra visual pop that makes your meal prep containers truly shine!
With these tips, you’ll not only have delicious meals ready for the week, but they’ll look so good, you’ll be excited to dig in every single time!
Variations
One of the most exciting things about meal prepping is that you can totally customize it to fit your taste buds. Here are some fun variations to keep your meals fresh and interesting!
- Swap the Grains: While quinoa is a fantastic base, try using brown rice, farro, or even couscous for a different texture and flavor. Each grain brings its unique character and nutrition!
- Mix Up the Vegetables: Don’t feel limited to just one type of vegetable! Experiment with seasonal picks like sweet potatoes, asparagus, or even roasted Brussels sprouts. The world is your veggie oyster!
- Add Some Protein: Chickpeas are great, but why not shake things up with black beans, lentils, or grilled chicken? You could even try some marinated tofu for a solid vegan option!
- Spice It Up: Give your meal prep a flavor boost by adding spices or sauces. A sprinkle of smoked paprika, a drizzle of tahini, or a splash of balsamic glaze can elevate the dish to new heights!
- Fresh Herbs and Greens: Toss in some fresh herbs like parsley, cilantro, or basil right before eating for a burst of freshness. You could also layer in some baby spinach or arugula for added greens.
- Change the Dressing: Instead of olive oil, try a zesty lemon vinaigrette or a creamy avocado dressing to change the whole flavor profile. Just a little drizzle can make all the difference!
These variations not only add excitement to your meal prep aesthetic but also allow you to explore different cuisines and flavors. Have fun with it and make it your own!
Storage & Reheating Instructions
Storing your meal prep containers properly is key to keeping those vibrant flavors and fresh textures intact! Here’s how to do it right:
First things first, once your containers are assembled and cooled down, seal them tightly. I love using glass containers with airtight lids—they’re sturdy, reusable, and keep everything fresh! If you’re using plastic, make sure it’s BPA-free and safe for storing food.
Store your meal prep containers in the fridge, where they’ll last up to 5 days. It’s a good idea to label each container with the date and contents so you can easily keep track of what needs to be eaten first. Trust me, it makes life so much easier when you can just grab and go!
When it comes to reheating, I recommend using the microwave for quick meals. Simply pop the container in, remove the lid (or leave it slightly ajar to prevent splattering), and heat for about 1-2 minutes, depending on your microwave’s power. Stir halfway through to ensure everything heats evenly. If you’re reheating quinoa and veggies, a little splash of water can help retain moisture and prevent drying out!
If you prefer the oven, preheat it to 350°F (about 175°C). Transfer your meal to an oven-safe dish, cover it with foil to keep it moist, and heat for about 15-20 minutes or until warmed through. This method works wonders for bringing back that roasted flavor, especially if you’ve added extra toppings like nuts or fresh herbs!
Just remember, always check that your meals are heated thoroughly before digging in—nobody wants a cold bite in the middle of a warm dish! With these storage and reheating tips, you’ll enjoy every delicious bite of your meal prep aesthetic throughout the week.
FAQ Section
Got questions about the meal prep aesthetic? No worries! I’ve gathered some of the most common queries to help you out:
What is the meal prep aesthetic?
The meal prep aesthetic is all about creating visually appealing, organized, and nutritious meals that are prepped in advance. It focuses on using vibrant ingredients and thoughtful arrangement in containers, making healthy eating not only easier but also a joy to look at. It’s like meal prep meets art!
How can I keep my meal prep containers looking fresh throughout the week?
To maintain that beautiful look, be sure to store your containers in the fridge with airtight lids. Layer ingredients carefully and avoid overstuffing to keep things neat. When you’re ready to eat, a little fresh herb sprinkle on top or a drizzle of sauce can instantly revive the visual appeal!
Can I freeze my meal prep containers?
Absolutely! Just make sure to use freezer-safe containers. Leave a little space at the top for expansion, and label them with the date. Most meals can be frozen for up to three months. When you’re ready to eat, thaw them in the fridge overnight before reheating!
What are some good options for proteins in meal prep?
Great question! You can switch things up with a variety of proteins. Chickpeas are fantastic, but you can also use beans, lentils, grilled chicken, baked tofu, or even salmon. Just choose what fits your dietary preferences and mix it up for variety!
How do I ensure my meal prep stays flavorful?
Flavor is key! Season each layer generously and consider adding a variety of spices, sauces, or dressings. Marinating proteins before cooking adds depth, and don’t forget to sprinkle fresh herbs right before serving for that extra burst of flavor!
Print
meal prep aesthetic: 5 Tips for Stunning Containers
- Total Time: 45 minutes
- Yield: 5 servings 1x
- Diet: Vegan
Description
A guide to creating visually appealing meal prep containers.
Ingredients
- 5 cups of mixed vegetables
- 2 cups of quinoa
- 1 cup of chickpeas
- 1/2 cup of olive oil
- Salt and pepper to taste
Instructions
- Cook quinoa according to package instructions.
- Roast mixed vegetables in olive oil, salt, and pepper at 400°F for 20 minutes.
- Drain and rinse chickpeas.
- Assemble containers with quinoa, roasted vegetables, and chickpeas.
- Store in the fridge for up to 5 days.
Notes
- Use seasonal vegetables for best flavor.
- Mix and match different grains and proteins.
- Label containers with dates.
- Prep Time: 15 minutes
- Cook Time: 30 minutes
- Category: Meal Prep
- Method: Baking and boiling
- Cuisine: Mediterranean
Nutrition
- Serving Size: 1 container
- Calories: 350
- Sugar: 5g
- Sodium: 200mg
- Fat: 15g
- Saturated Fat: 2g
- Unsaturated Fat: 10g
- Trans Fat: 0g
- Carbohydrates: 45g
- Fiber: 10g
- Protein: 10g
- Cholesterol: 0mg
Keywords: meal prep aesthetic